






How to Set Up Garmin Connect: A Practical Guide for New Watch Owners in Oman

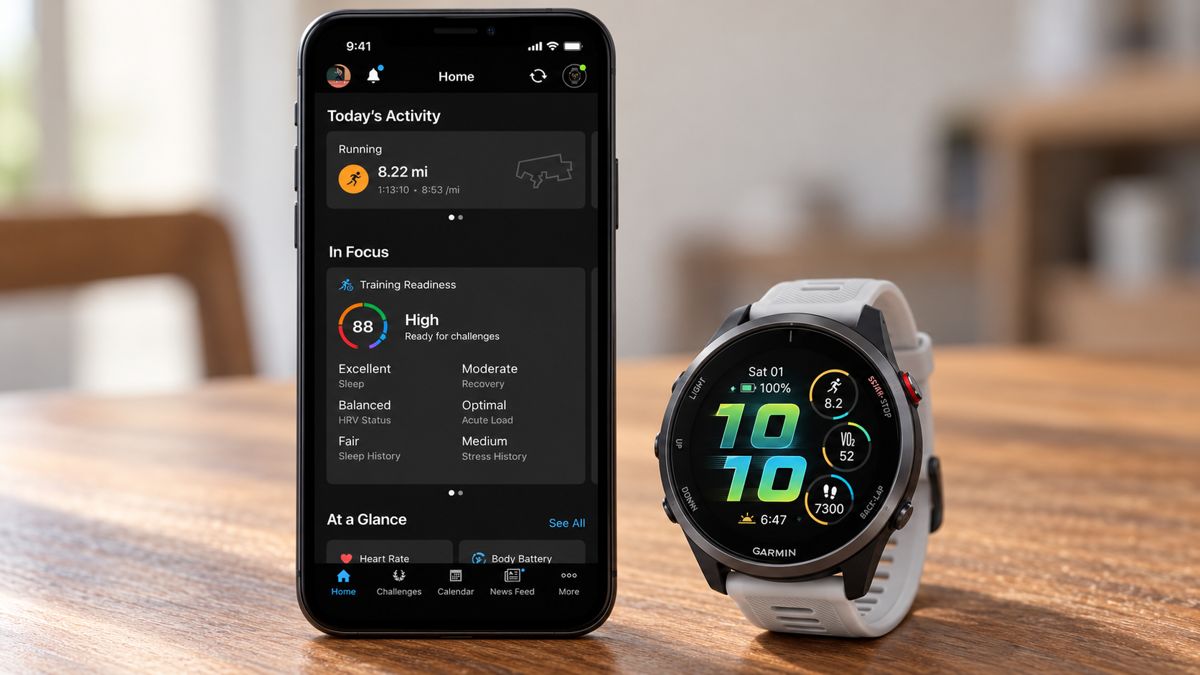
Your Garmin watch becomes more useful when it is connected to the right account and configured for the way you train.
For a new owner in Muscat or elsewhere in Oman, the first goal is straightforward: connect the watch, check your personal settings and make sure the information you need appears during an activity.
This Garmin Connect setup guide walks through that process. General app instructions apply to compatible devices; the watch-button example below specifically follows the Forerunner 970 manual.
Instructions checked against official Garmin documentation on 17 October 2026. Menu wording and available options can vary with your watch, software version, phone platform and app language.
Before You Start
Have these ready:
- Your charged Garmin watch.
- A compatible phone with Bluetooth enabled.
- An internet connection.
- The Garmin Connect app from your phone’s official app store.
- Your existing Garmin account details, if you already have an account.
If you have used Garmin before, sign in to your existing account so you can continue using the same account history. Garmin’s official getting-started page directs phone users to Garmin Connect.
Step 1: Pair Through Garmin Connect
Start the connection inside Garmin Connect rather than pairing the watch only through your phone’s Bluetooth settings. Garmin explicitly makes this distinction in its pairing instructions.
If You Are Setting Up the Watch for the First Time
- Turn on the watch and follow its setup prompts.
- Accept the option to pair with a phone.
- Open Garmin Connect and sign in or create your account.
- Follow the device-addition instructions shown in the app.
- Complete the confirmation prompts on your phone and watch.
Some watches display a QR code during setup. The Forerunner 970 manual instructs users to scan that code and follow the on-screen process.
If You Already Use Garmin Connect
Open the app’s menu and select Garmin Devices → Add Device.
Put the new watch into pairing mode and follow the prompts. The method for entering pairing mode depends on the watch.
Forerunner 970 example: If pairing was skipped during initial setup, hold the middle-left button from the watch face, then select Watch Settings → Connectivity → Pair Phone. Pairing a replacement phone uses a slightly different path documented in the manual.
Step 2: Check Your Personal Settings
Once the watch is connected, review your information before relying on activity summaries.
In Garmin Connect, select More → Settings → User Settings.
Garmin lists height, weight and measurement units among the preferences available here. Check the values and units carefully—for example, confirm that a weight entered in kilograms has not been interpreted as pounds. See Garmin’s account-preferences guide.
For many users in Oman, kilometres and kilograms provide a convenient starting point. Choose the units you understand and use consistently.
Account Settings and Watch Settings Are Different
Your account contains profile and privacy preferences. Your selected watch also has its own device settings.
To find device options, open More → Garmin Devices → select your watch.
The available settings depend on the model. Avoid assuming that another Garmin owner’s menu will be identical to yours.
Step 3: Review Privacy and Phone Permissions
Go to More → Settings → Profile & Privacy.
Review who can see your profile and uploaded information.
In the same Settings area, Garmin also provides Phone Permissions for reviewing access such as Bluetooth, location and notifications. The permission prompts and controls can differ between Android and iPhone.
Choose permissions according to the functions you want to use. If a connected feature does not work later, check its requirements before resetting the watch.
Step 4: Personalise One Activity Screen
Start with your main sport. A simple running screen is easier to assess than several pages filled with unfamiliar metrics.
A practical first layout could show:
| Information | Why it is useful |
|---|---|
| Elapsed time | Shows how long the activity has been running |
| Distance | Helps track progress through the session |
| Pace | Helps you monitor running speed |
| Heart rate | Provides another view of exercise effort |
This is a suggested layout, not a universal Garmin preset. Field availability and labels depend on the watch and activity.
On Compatible Watches, Start in the App
Open More → Garmin Devices → your watch → Activities & Apps.
Select the relevant activity and look for its data-screen settings.
Garmin confirms that compatible devices support changing activity data fields through Garmin Connect. Its compatibility list includes the Forerunner 165, 265, 570, 965 and 970, among other models.
Some settings still require changes directly on the watch. If the app displays Update Setting on Device, follow the watch’s manual instead. See Garmin’s device-settings instructions.
Forerunner 970: The Verified Watch Method
On the Forerunner 970:
- From the watch face, press the upper-right button.
- Select Activities, then your activity.
- Scroll down and open the activity settings.
- Select Data Screens.
- Choose a screen and select the edit symbol.
- Use Layout to change the number of fields.
- Use Data Fields to change the displayed information.
The manual also provides options to reorder or remove screens and add new ones. These instructions are specific to the Forerunner 970; other watches may use different controls. Consult the official data-screen guide.
Step 5: Check the Result Before Your First Workout
After making changes, sync the watch and inspect the selected activity screen.
Before heading out for a run in Muscat:
- Confirm that the displayed units are familiar.
- Check that the text is readable at a glance.
- Make sure you know how to start, stop and save.
- Check that the selected profile matches your activity.
Then record a short test activity, save it and check whether it appears in Garmin Connect. This confirms the basic workflow before you depend on it during a longer session.
If Something Does Not Work
The Watch Appears in Bluetooth but Not Garmin Connect
A Bluetooth listing alone does not confirm that Garmin Connect setup is complete. Return to the app and use its device-pairing process.
A Setting Is Missing
First check that you selected the correct watch. Next, consult that model’s manual: some settings are only available on the device.
Your Data Screen Has Not Changed
Confirm that you edited the correct activity profile. A change to the running profile does not mean the cycling profile uses the same layout.
Keep the watch connected, sync it and check the screen again before making further changes.
Your First-Workout Checklist
Your setup is ready for a practical test when:
- The watch is paired in Garmin Connect.
- Your personal information and units are checked.
- Privacy preferences are reviewed.
- Your main activity screen is readable.
- A saved test activity appears in the app.
You can add more data pages later. Start with a layout you understand and adjust it after using it outdoors.
Explore Garmin watches in Oman, or contact Atlas Tech Sport for help choosing a suitable watch in Muscat.
Frequently Asked Questions
Should I pair my watch in the phone’s Bluetooth menu first?
Garmin instructs users to pair through Garmin Connect rather than starting solely in the phone’s Bluetooth settings.
Can I change every watch setting from Garmin Connect?
No. App-based settings depend on compatibility, and some options must be changed directly on the watch.
Are these steps identical on Android and iPhone?
The main workflow is similar, but permission screens, app presentation and some controls may differ.
Can I use the Forerunner 970 button instructions on another Garmin?
Do not assume so. Use your exact model’s manual for button and menu instructions.
Do I need several data screens to begin?
No. Start with the information you use most often, then add screens when you have a clear purpose for them.